Location: Choose a suitable location for your vertical garden, considering factors like sunlight, accessibility, and visibility.
Budget: Determine your budget, which will influence the overall complexity of your garden.
Purpose: Define the purpose of your vertical garden, whether it’s for aesthetics or privacy.
2. Design:
Frame or Support Structure: Decide on the type of frame or support structure that suits your space. Consider a wall-mounted structure or a freestanding frame.
Plant Layout: Plan the arrangement of plants. Decide if you want a uniform grid pattern or a more artistic and cascading design.
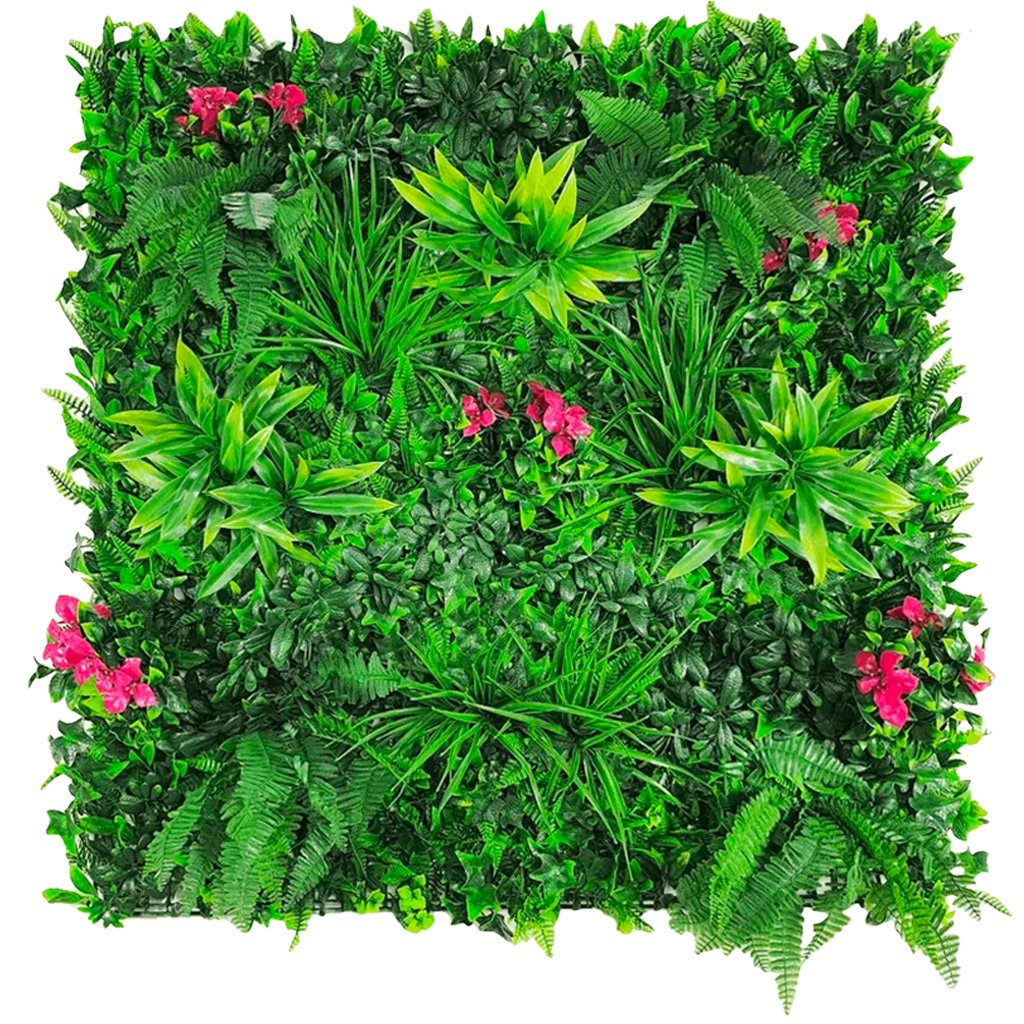
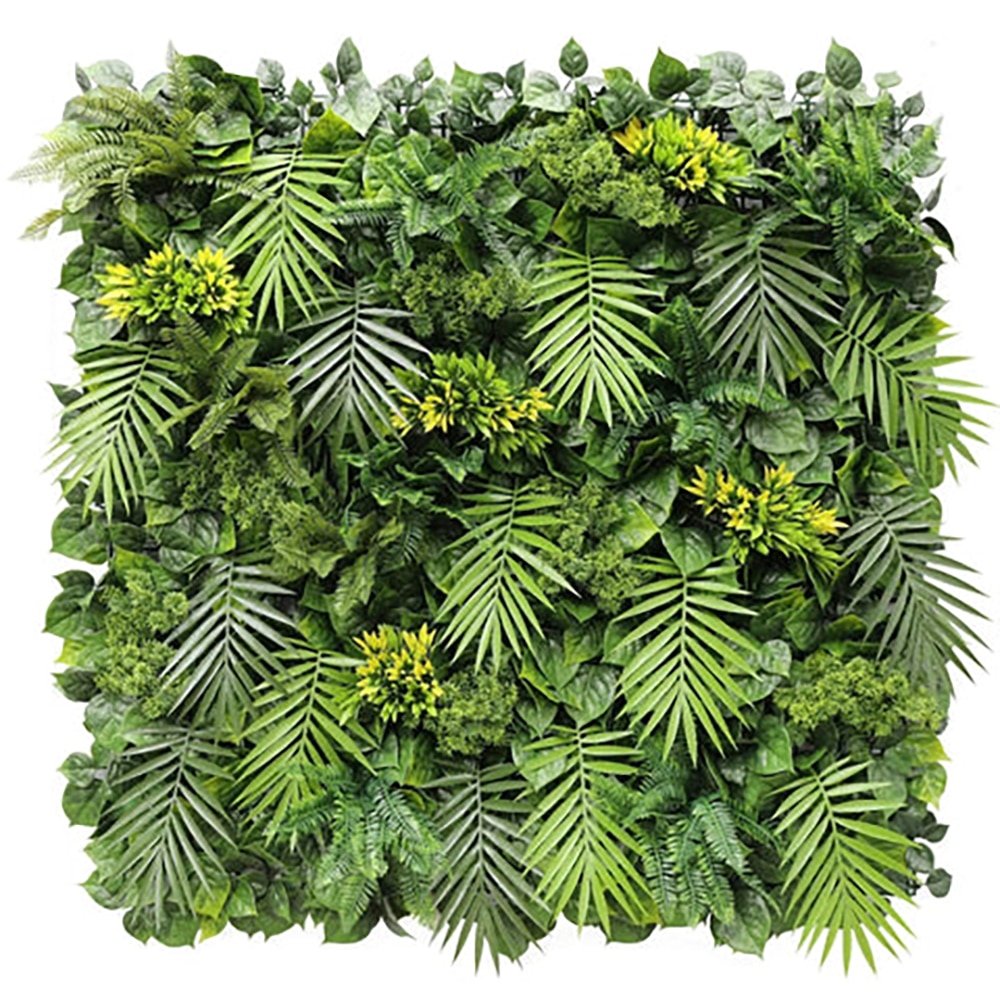
Materials: Choose materials for the frame, backing panel (if using one). High-quality artificial plants should be UV-resistant.
3. Installation:
Prepare the Wall or Structure: If attaching to a wall, make sure it’s clean and ready for mounting. Use anchors, brackets, or appropriate hardware to secure your support structure.
Install the Support Structure: Assemble and attach the frame or support structure securely, ensuring it’s level and stable.
Mounting Panels (if using): Attach backing panels to the frame if you’ve chosen this option, ensuring even spacing and level installation.
Final Touches: Conceal any visible wires, connectors, or tubing, if your garden includes a lighting system.
Your vertical garden design and installation process will depend on your specific preferences, needs, and budget.